


The Idol Minecraft mod is a unique pack that adds a persistent horror entity that follows the players in the world, creating a thrilling and terror-fueled experience in the game. The fully-dynamic entity stalks the gamer, following every move and action.
Here’s everything you need to know about the Idol Minecraft mod.
How to install The Idol Minecraft mod
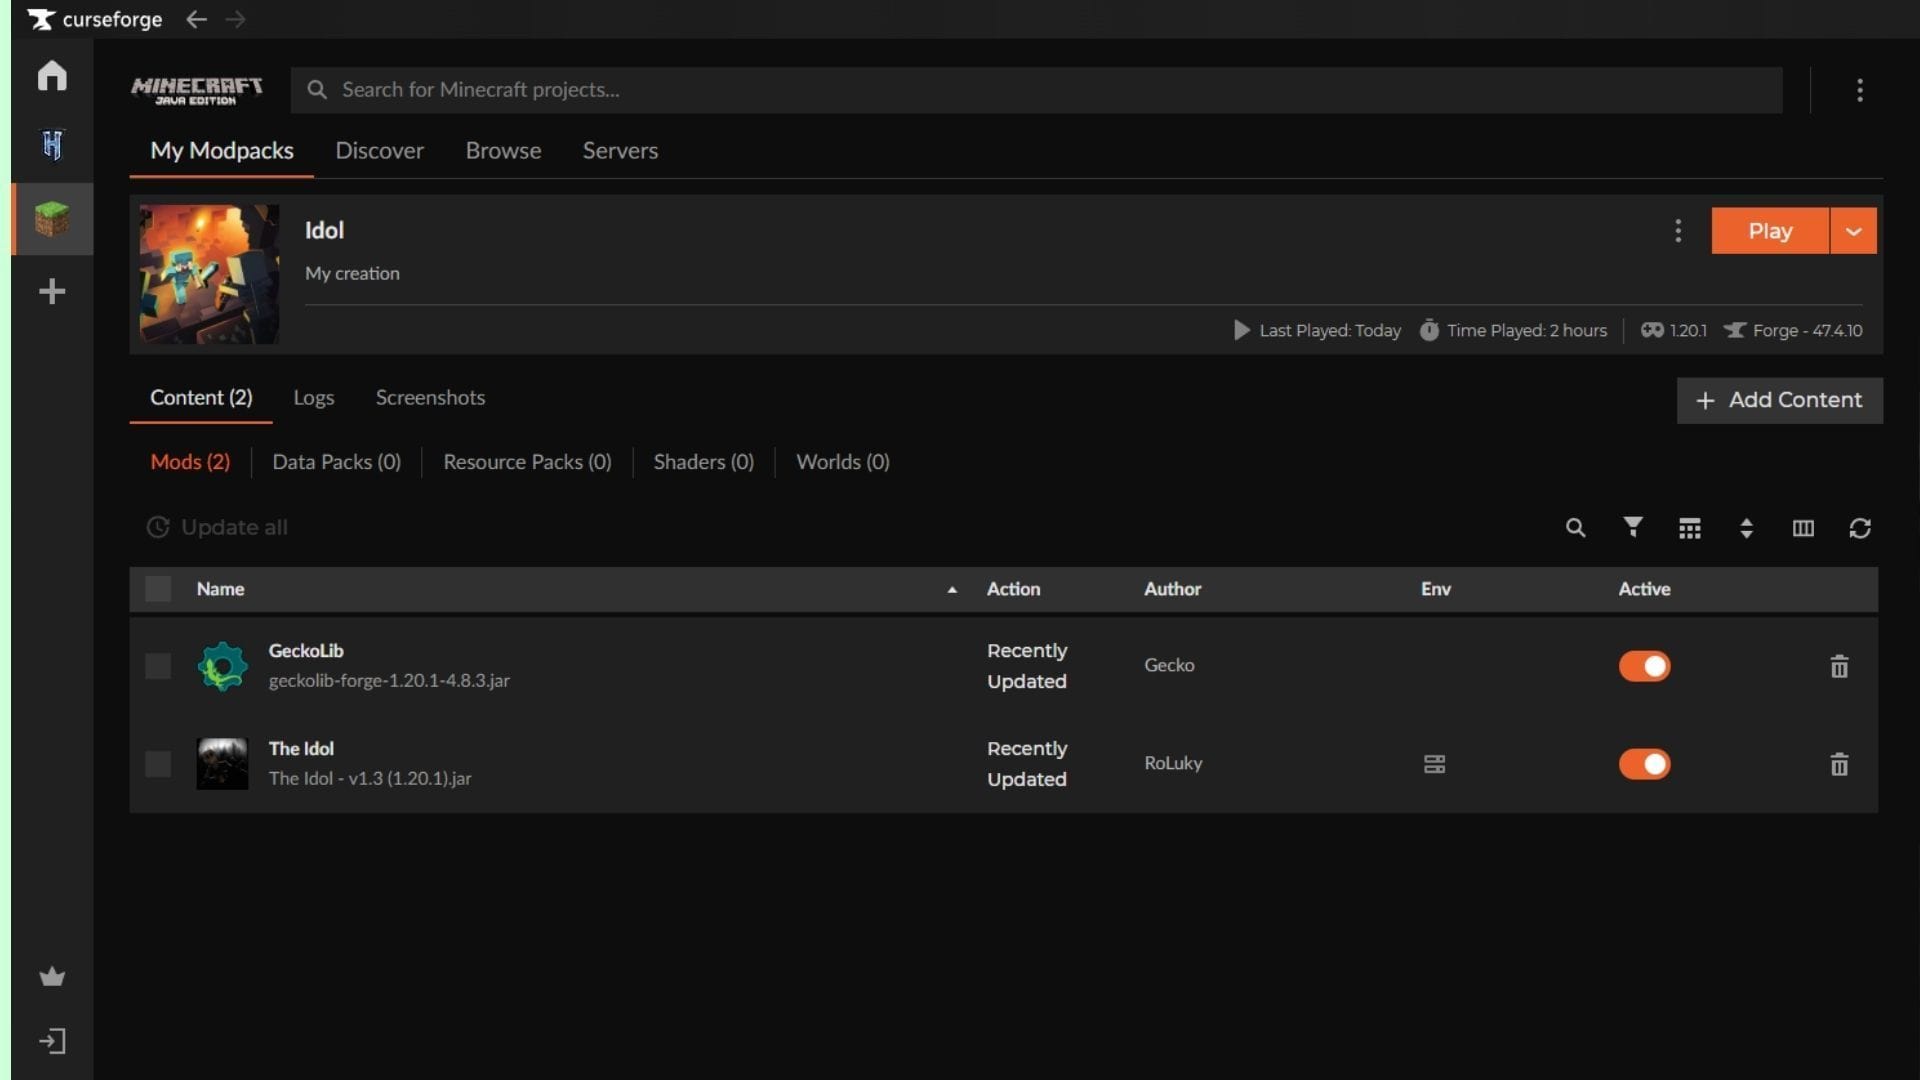
The Idol Minecraft mod can be installed using any mod loader that supports Forge. For this guide, we have used CurseForge and its mod loader, with Forge running on the game version 1.20.1.
Here’s how you can download and install the Idol Minecraft mod:
- Visit the Curseforge website and download the official launcher if you do not have it installed already. Next, log in and register with your linked Microsoft account.
- Navigate to the top bar and search for the Idol mod for Minecraft by Roluky. Alternatively, you can click on this link to head to the mod page directly.
- To install the Idol mod manually, click on the black Download button on the right side of the screen. Once the ZIP file has been downloaded, drag and place it in the mods folder of your desired instance’s directory.
- If you do not have Minecraft with Forge installed or are new to installing mods and APIs, it is recommended to use the Curseforge launcher to simplify the installation process.
- For installation using the Curseforge mod loader, click on the orange Install button with the anvil logo on the right side of the Download button. Next, you will need to wait for the deep link to open on the installed app.
- Once the app loads, you will be prompted to create a new instance (installation) or choose an existing instance of Minecraft to install the Idol mod. It is recommended to install it on a fresh instance since this prevents any conflicts with other mods, shaders, or data packs and avoids unexpected corruption during runtime.
- Next, name your instance and click on the Create button. Once done, you will be redirected to the installed mod’s page. Wait while the required files and assets are downloaded and installed.
- Now, click the orange Play button on the right side to launch Minecraft with the Idol mod successfully installed.
Note: Players using VR are recommended to bind the GUIs to the head, ensuring the hostile entity and jumpscares occur at the right height. Additionally, multiplayer might not be supported on certain server hosting due to the client-side events. Make sure to deploy the mod in a test world to ensure you do not corrupt existing saves or game instances.
Also read: “You are f***ing idiots”: AI Minecraft tool faces backlash from creators and community
Features of the Idol Minecraft mod
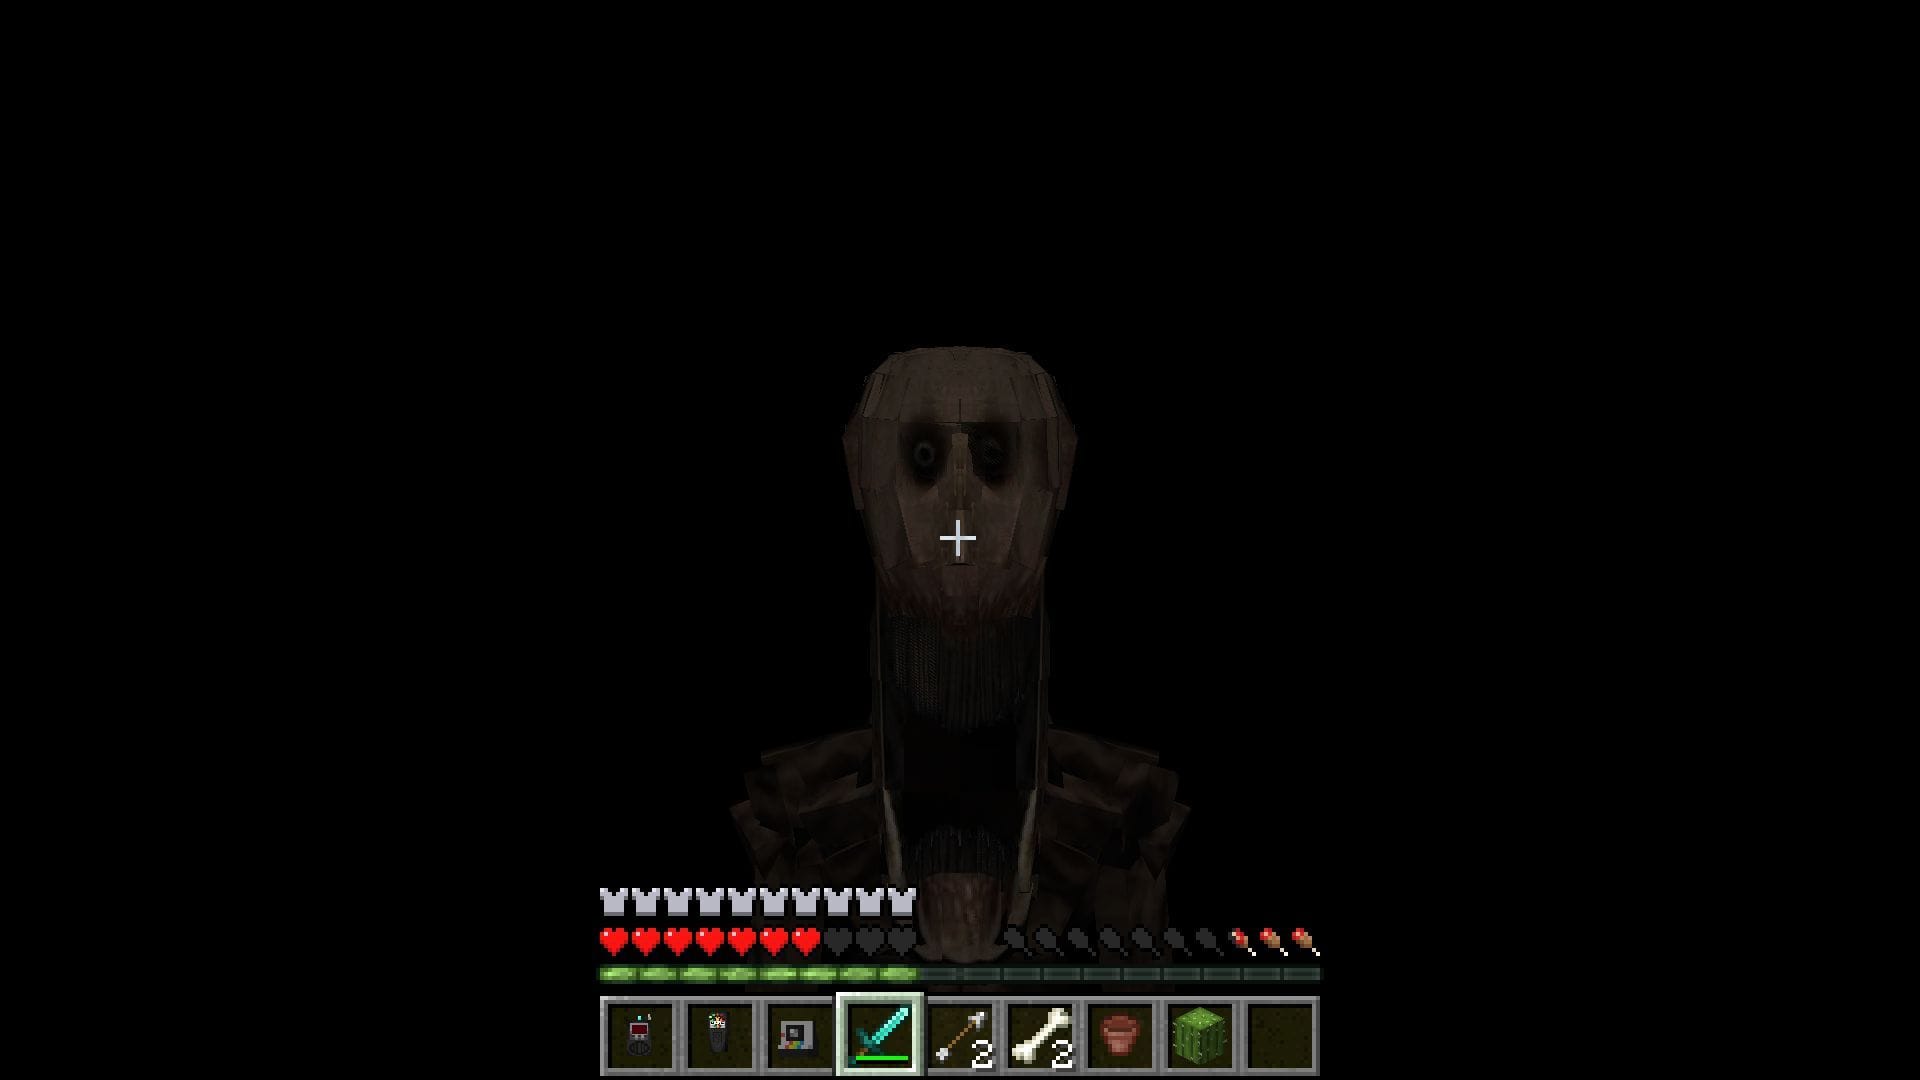
The Idol Minecraft mod is an immersive horror mod that adds the Idol, a stalking horror entity that follows you as you explore the world. The entity takes a while to spawn, creating a growing sense of uncertainty at every turn. Once it arrives, it will observe you from a distance.
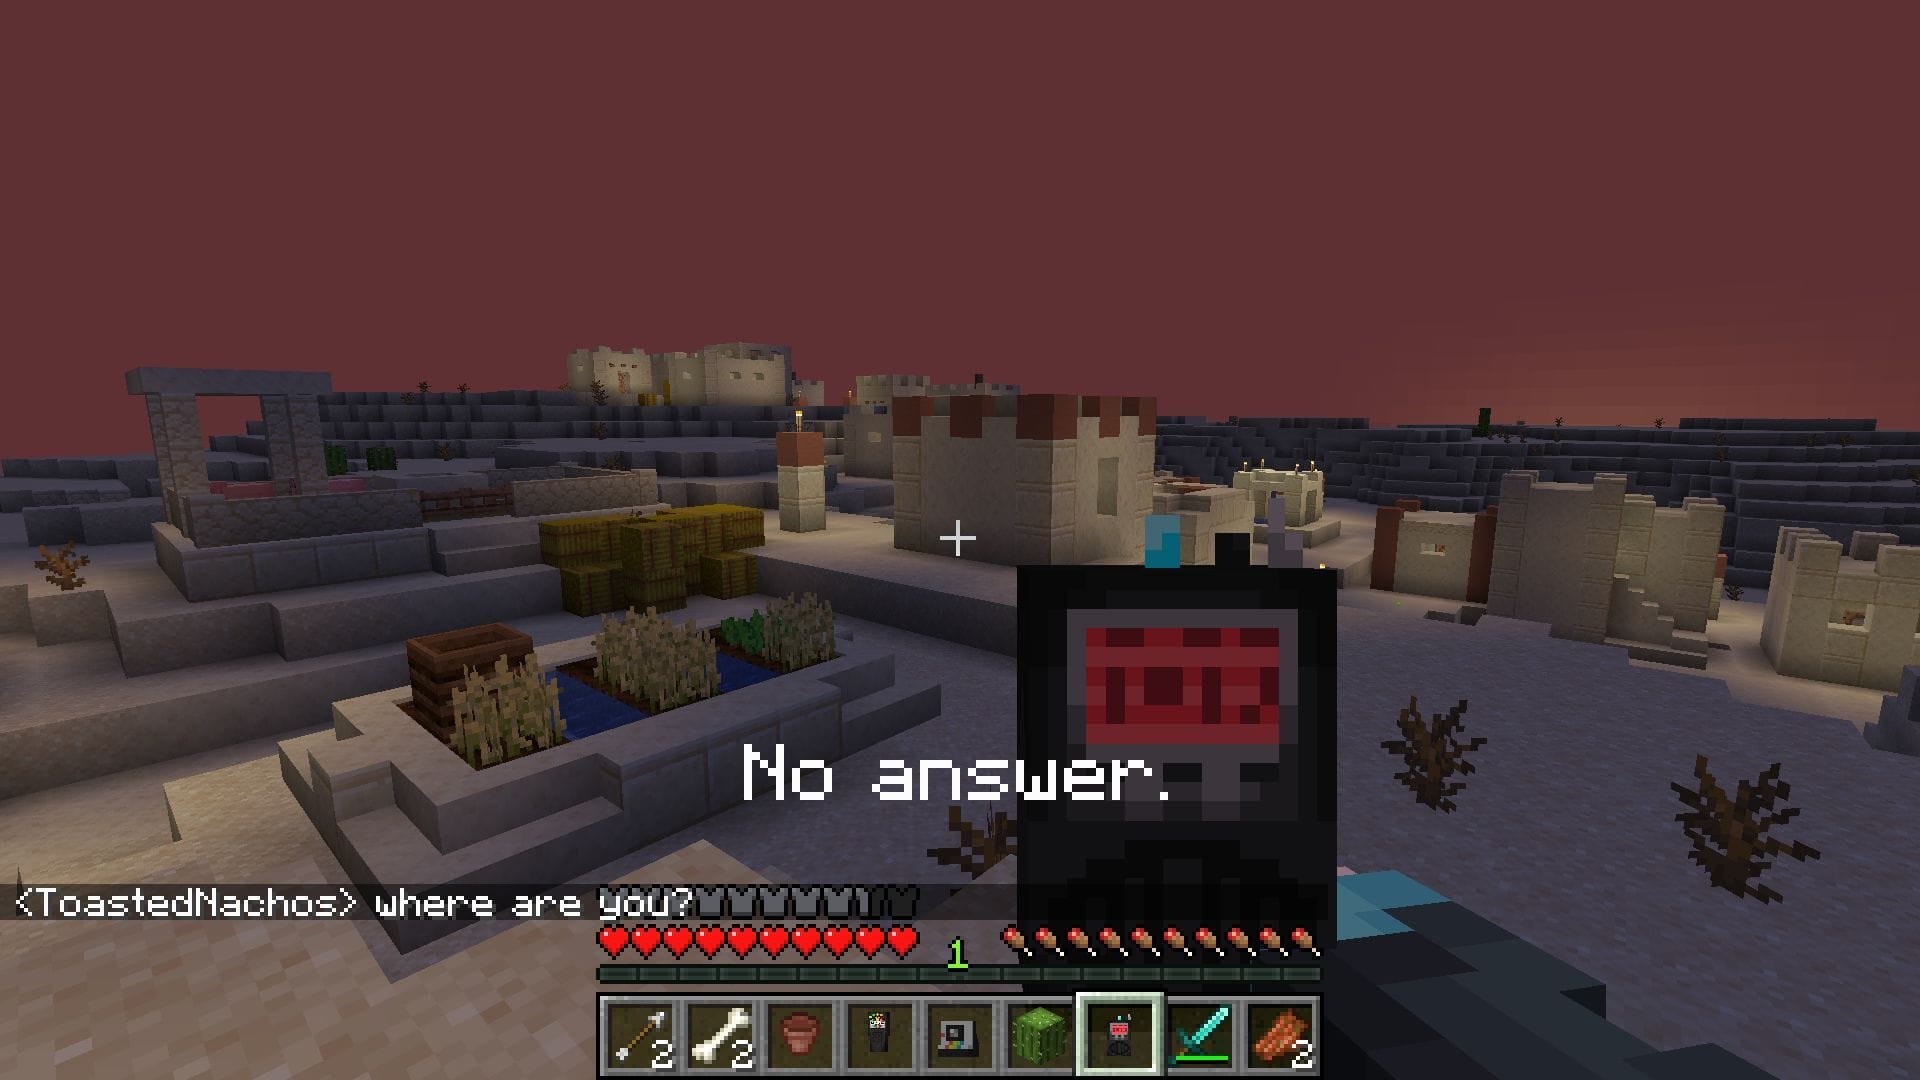
Gradually, the entity’s mental state will degrade, starting with zero and going up to 4. The mod offers three tools and items that you can use to detect and evade the Idol. The EMF reader allows you to determine the entity’s state, while the spirit box lets you communicate with and find it. On the other hand, the Polaroid camera can be used to temporarily stun the Idol and slow it down.
The entity in the Idol Minecraft mod has an inherent stage system that directs its level of aggression and power in the game. Actions like attacking the Idol or using the Polaroid too many times will trigger it, increasing the stage. Once it reaches stage four, the entity will actively attack and haunt you. The horror element and suspense make it the perfect companion for multiplayer worlds.
Additionally, the Idol Minecraft mod can be deployed seamlessly in multiplayer worlds and servers. The array of chance encounters and varying stages of attacks make this the perfect companion for SMP or horror roleplay servers.
Also read: How to download 1.21.11 Iris Shaders
Check out our other articles:
Edited by Sayendra Basu

